Pets v Cattle: Making a personal disaster recovery plan
tl;dr To recover quickly from personal computer disasters, automate your computer setup. Use tools like cloud syncing for documents, Homebrew/Ansible for applications, Git for dotfiles, and Docker for development environments, all managed as “infrastructure as code”.
How easy is it to replace your computers?
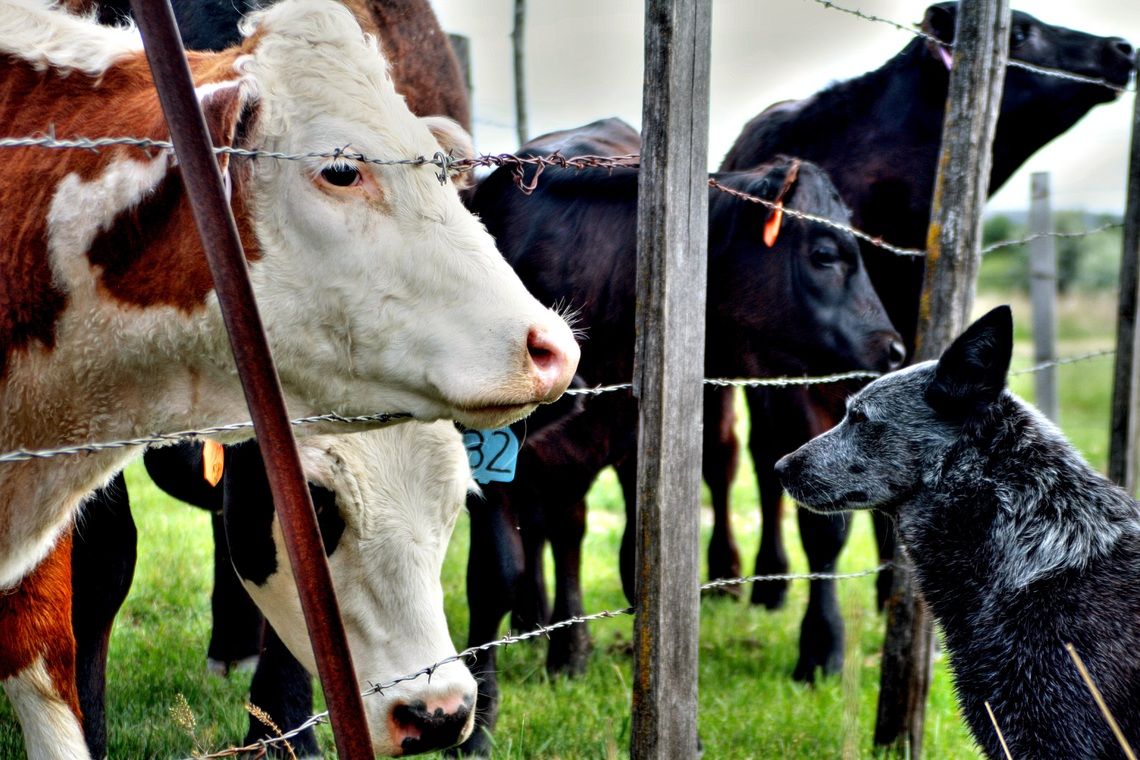
 When dealing with computers, you should rely on cattle, not on pets. [Photo in CC0 Public Domain.]
“When dealing with computers, you should rely on cattle, not on pets.”
With these wise words, a former DevOps colleague introduced me to the idea of treating computers as cattle, rather than pets.
When you put a lot of love, care and attention into the configuration and maintenance of individual machines, they become like pets. You would hate to seem them go. This is especially true if your entire business relies on that machine’s availability. If a machine goes down, you have to wait until a new machine is built, and your custom configuration restored from a backup that is hopefully complete and valid.
Rather than relying on these “pets”, a better approach is to depend on a collections of machines that can be automatically created, configured, deleted and replaced. These machines are “cattle”, with a bunch of machines in your “herd”. If something happens to one of them, you can easily replace that machine.
This DevOps strategy has become an important part of corporate disaster recovery plans, because it allows for rapid recovery of entire systems that form the backbone of a business and tests that recovery process regularly as individual machines fail.
 When disaster strikes, how quickly will you recover? [Photo in public domain.]
While this is a good system for how to run a business, this idea resonated with me because of my own previous experience having to swap work laptops routinely over several months caused by some buggy hardware. I ended up having to recreate my work environment multiple times to have access to the applications, documents, and system configuration that I required to get my job done.
As a result of this experience, I became interested in how to do this as efficiently as possible – how could I best treat my personal machines as cattle, not as pets? How could I develop a personal disaster recovery plan that would:
- Improve upon the standard process of backup and restore of a “pet” computer,
- Allow for a rapid recovery of my systems that enable me to get work done after they suffer damage, theft or other disaster, and
- Test that recovery process regularly.
Here I’ll discuss first the issues I’ve found with the backup/restore process, and then what I’ve come up with so far as an alternative. I hope you find it useful, and please let me know if you have your own tips via the comments!
Typical backup systems
Entire-system backups are essential and comprehensive but slow.
The first step of any recovery plan must be to ensure that backups of your entire system are being done regularly (at least daily if not more frequently), and properly using the 3-2-1 rule: three copies of your data on two different media with one copy stored off-site.
 [Photo by Nick Youngson
CC BY-SA 3.0 Pix4free.org.]
Unfortunately I have found that using backups alone as a recovery plan has several issues:
- It’s slow to restore an entire machine, and the machine is out of commission the entire time the restore is happening.
- Even if your backup software allows for restoring a subset of the backup, it can be difficult to find all the data you need scattered across the system, especially if you’re not a power user.
- It’s hard to trust the backup process. Who among us has actually taken the time to restore a backup for the sole purpose of verifying it? And I’ve had numerous issues when a recovery was necessary, though thankfully none that proved fatal.
My disaster recovery plan
For rapid recovery, backup and restore system components separately and automatically.
As part of my plan to rapidly and automatically configure a new machine, I identified the following different system components that I would want to recover independently, at different times, and without hogging the machine.
Documents
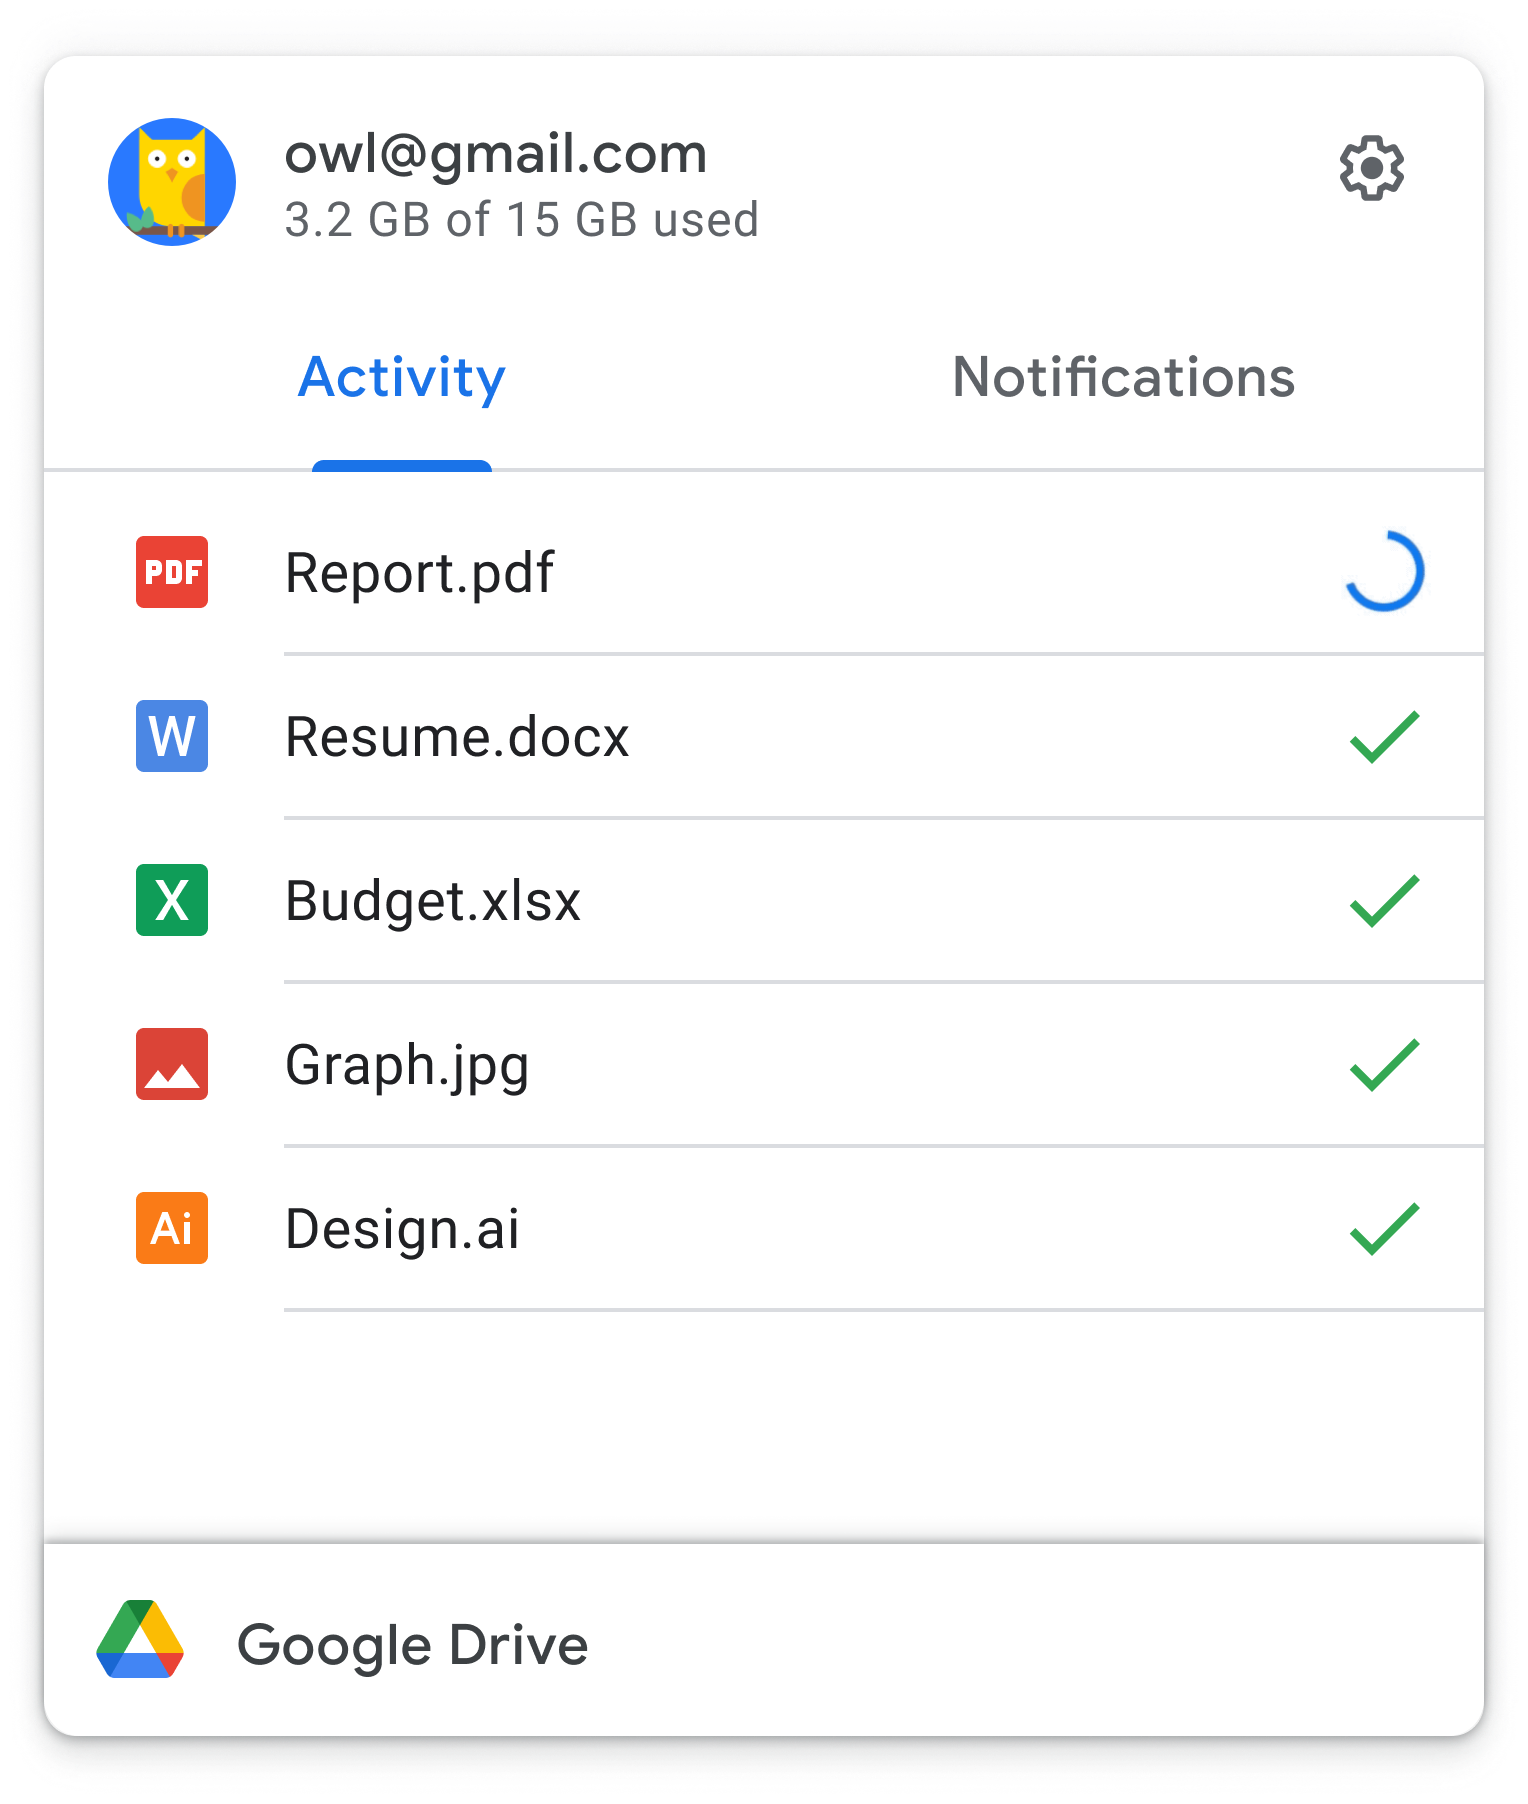
Your documents are often the most valuable and irreplaceable data on your machine. Thankfully they are also the easiest to protect – use any document-syncing service, such as Google Drive, OneDrive, Dropbox, etc. – as long as you can be disciplined enough not to store any documents outside the relevant directory!
Then on a new machine, log into the service, and your documents will start loading!
 Hey presto! [Photo by Google.]
Special case for documents: software code
These document-syncing services aren’t the best solution for all types of documents. Most software developers are familiar with version-control software like git that are used to keep track of changes to their code, often with remote servers such as those at GitHub. This allows for a rapid restore of code to a new machine.
I make note of this special case because one flaw in version-control software is that it’s easy to forget that you have local changes that are not yet synced to the remote repository. I use the uncommitted tool to find these changes across my machine.
 Demo of uncommitted showing local un-synced changes.
[Generated using vhs.]
GUI and CLI Applications
As a Data Scientist, I rely on my machine having installed a long list of applications, both the Graphical User Interface (GUI) and the Command Line Interface (CLI) kind.
While I could try to manually install those applications I remember onto a new machine, most of the time I would likely not remember a given application until I need it, and then I would have to wait until I find the installer and install it.
Thankfully I don’t have to rely on my memory for this. I use Homebrew, the ‘missing package manager’ for macOS and Linux, to install most of the applications I need. Previously I also used it produce a Brewfile, a list of installed applications that I kept as a text file under version control using git. On a new machine, I could download this list, and have Homebrew processes it in the background to install all the tools I need while I keep working. Nowadays I use Homebrew in combination with Ansible playbooks – more on this below.
 Demo of brew installing applications via the command line.
Special case for applications: software code
Another special mention here for software developers. I highly recommend Docker to share a development environment for software projects. Rather than having each developer carefully curate a combination of operating-system (OS) versions and language packages to make your software work on their machine, with Docker you can run one command to build a virtual machine that will run your application anywhere.
An extra benefit of using Docker is that setting up your development environment on a new machine is as easy as running the same Docker command you’ve been using all along.
 Demo of docker running application in shared environments.
Dotfiles
Many applications (both the GUI and CLI type, and terminal shells in particular) use
dotfiles
to store configuration details.
These plain-text files are called ‘dotfiles’ because their filenames start with a ‘.’ (!).
You may not have noticed them because most OSs will hide them by default.
Historically they have been located in your home directory ~/,
but are often now found under ~/.config/.
One of the quickest ways to feel in a foreign land on a new laptop is missing these configurations. Thankfully, an easy solution is to store and update these files in a GitHub repo, such as proinsias/dotfiles. Then to make any new environment more like your existing environment, you clone that dotfiles repo and run a command like stow to setup the files in the right locations.
 Demo of stow setting up my dotfiles.
System Configuration
A common characteristic of most of the above solutions is the reliance upon text files
to represent the list of requirements you want to install upon your machine,
whether it be a Brewfile, a Dockerfile, or a set of dotfiles.
This is the key idea to managing “cattle” – representing your “infrastructure as code”, and has spawned many useful tools like Ansible and Terraform that are used to manage massive networks of easily replaced servers.
The final step in my process was to realize that I didn’t have to leave all these cool tools to my DevOps colleagues. Several enterprising developers had posted examples of using Ansible playbooks to save the system configuration of their (typically macOS) laptops. I ended up creating my own set of playbooks that I can use in future to setup a new macOS or Linux laptop as follows:
- Install an OS-specific list of GUI and CLI applications using
homebrew(both OSs), mas (macOS only), andapt(Linux only). - Install a list of python-based utilities to their own virtual environments using pipx.
- Globally install a list of ruby packages.
- Globally install a list of nodejs packages.
- Set various macOS system configurations.
Testing
Make sure to test your disaster recovery plan.
Whichever recovery plan you end up picking, you must test your process before disaster strikes.
I do this by keeping most of my settings across my work and home computers synced using Ansible. I run my Ansible playbook daily automatically, and review any errors that crop up. I also test the Ansible playbook via a GitHub Actions workflow.
So there you have it. My personal disaster recovery plan. I hope it helps you recover faster the next time gremlins strike. Please let me know if you have your own tips via the comments!
Banner photo by Jernej Furman shared under a Creative Commons (BY) license .


Leave a comment